


When it comes to the face, there isn’t anything which has received as much of a glow-up as brows. They were over-plucked in the 90s, drawn on like little commas in the 2000s, and then they got sick of the backseat and decided to SHOW UP.
A bold, fresh brow is the perfect way to accent your face, especially when we are all living life behind a mask. My brows aren’t super full and I like them a little darker than my natural color but I can’t commit to a daily routine of pencils, powders, and pomades. My most recent obsession is a brow tint which makes my blonde hairs look darker, thicker, and fuller. It’s something you can do at home for less than $15 and less than 15 minutes of your time.
How to Tint Brows with Beard Dye:
- Hit up your favorite store and make your way toward the men’s grooming aisle. You are looking for Just For Men Mustache & Beard Color. You will know you found it when you see the row of boxes with men smiling back at you that look like they have single-syllable names and a fraternity on their resume. Pick the color closest to your desired brow shade, but try to keep it within a few levels of your natural color for the best results.
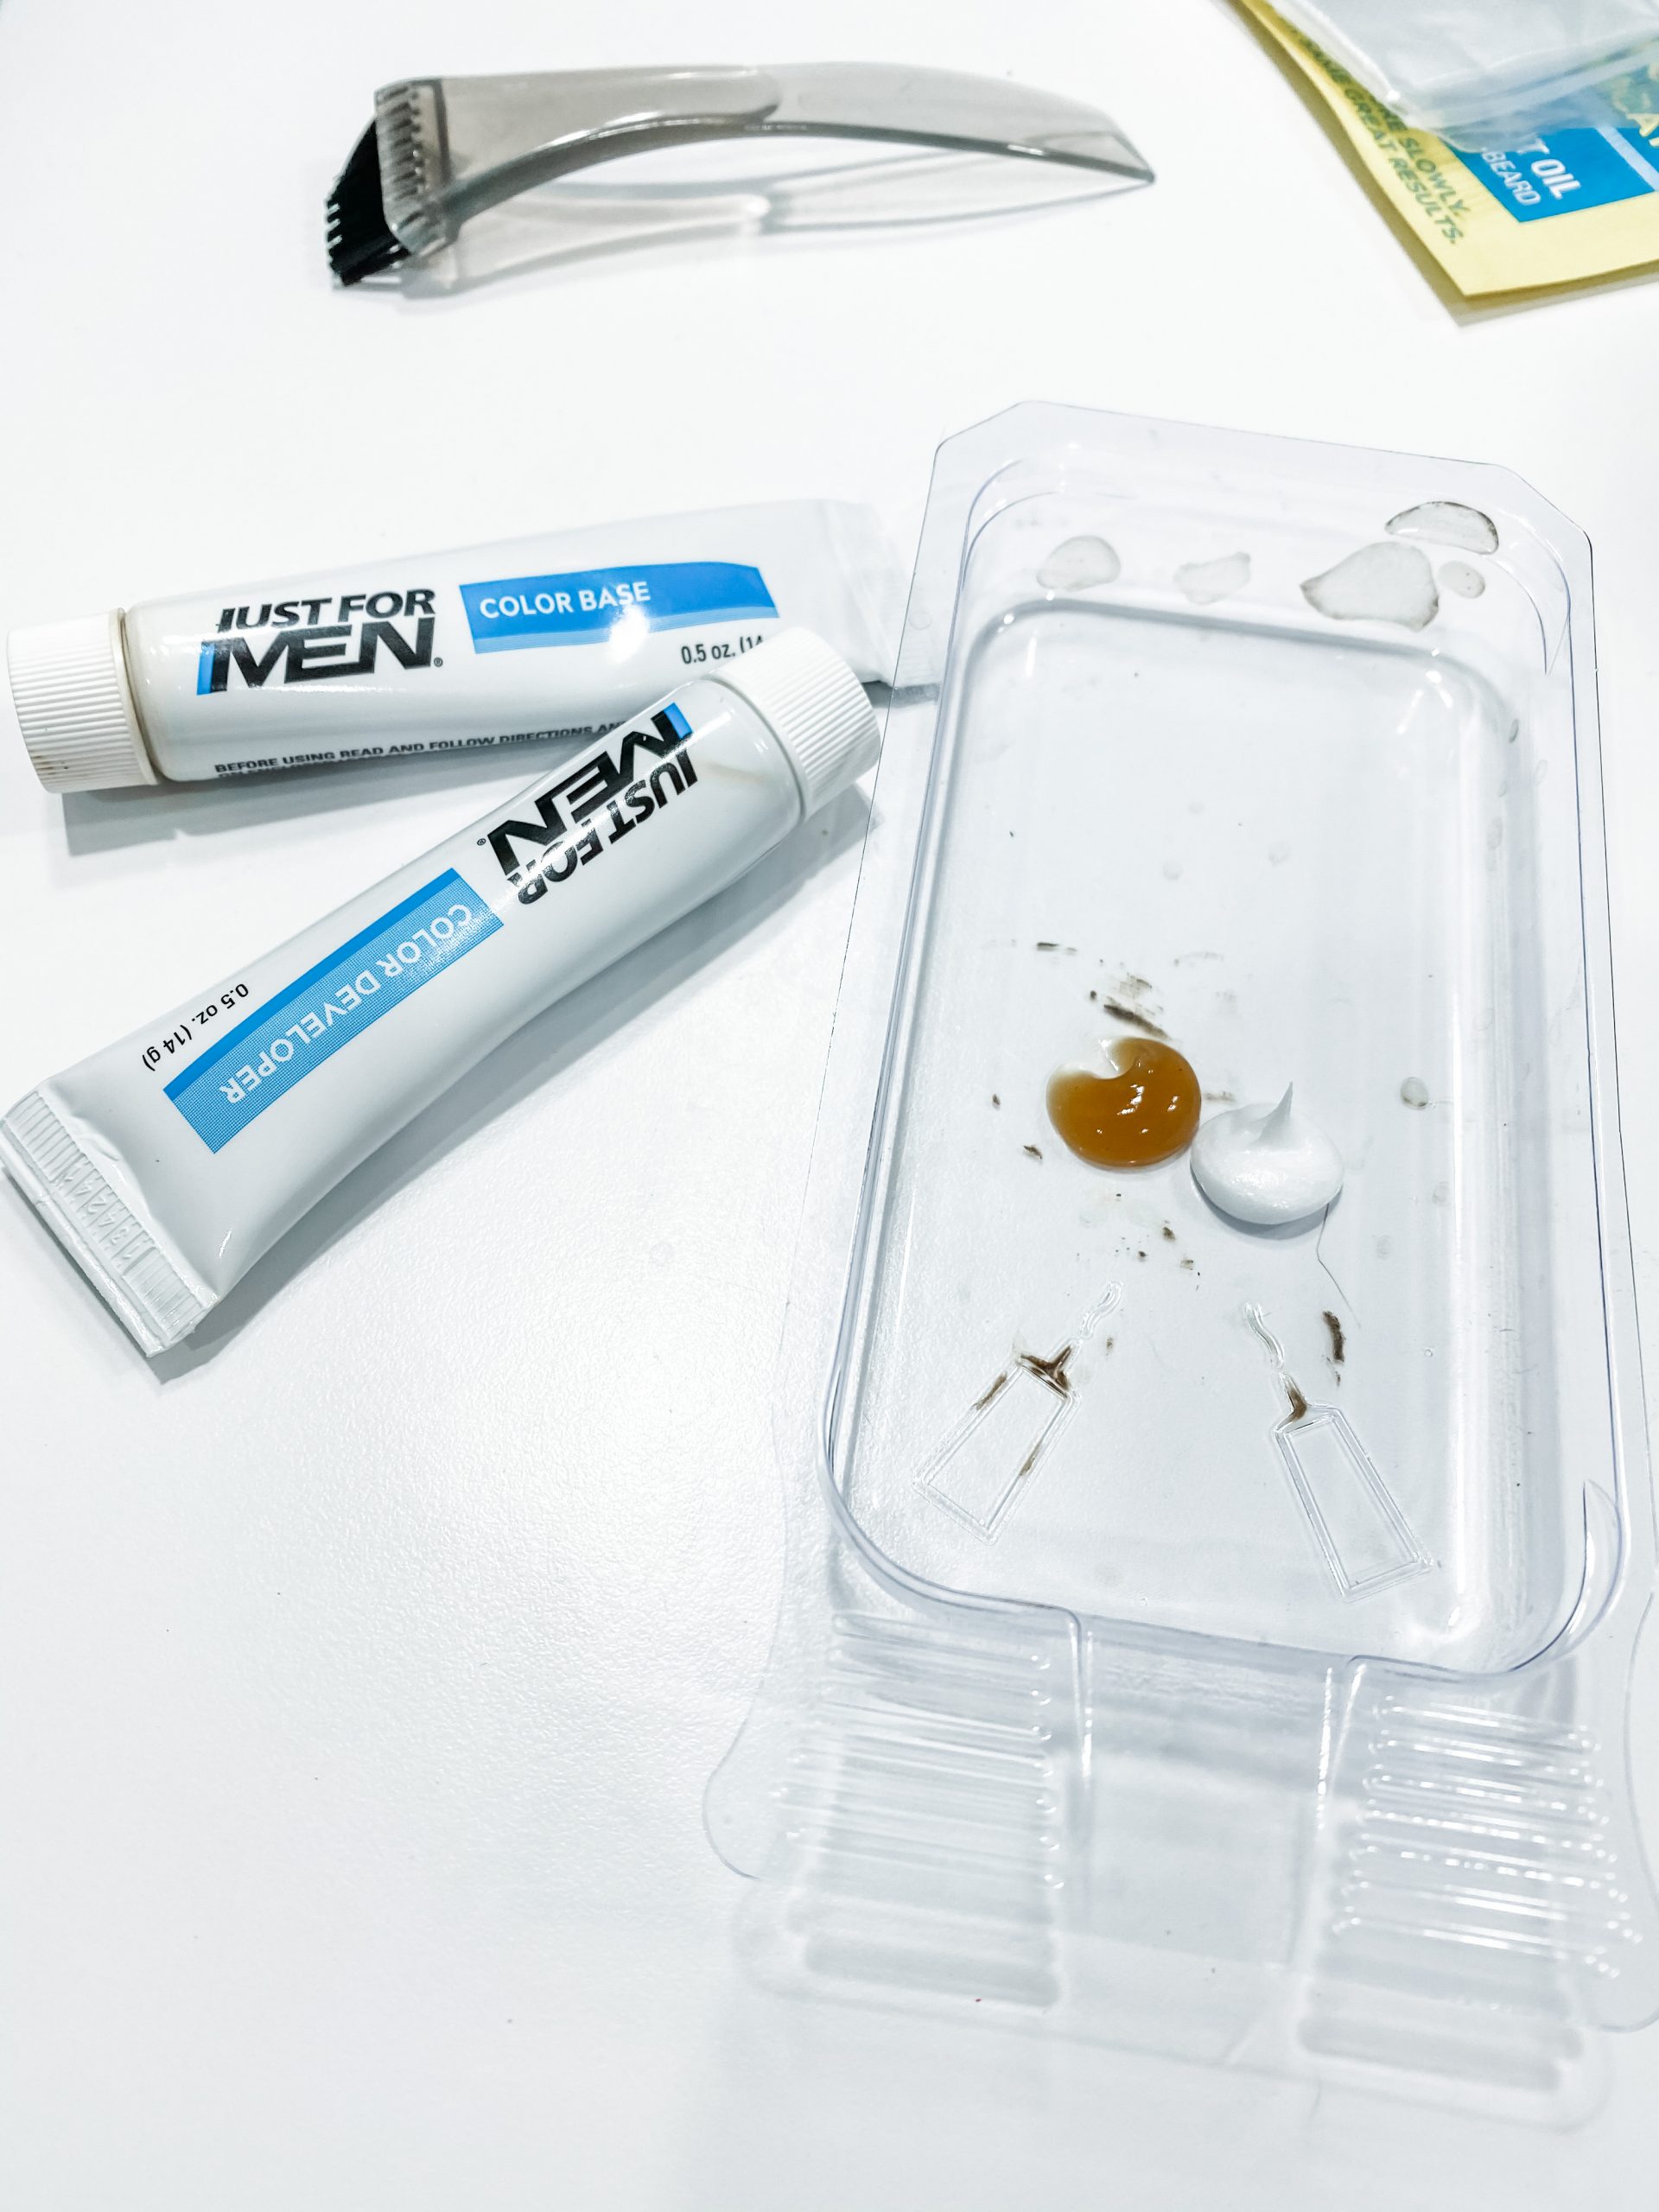
- Gather your supplies. You’ll need either a spoolie brush or clean mascara wand (same thing), a timer, and a barrier cream. You can use Vaseline, ChapStick or lotion. This step is totally optional; I tend to skip it and have never had an issue with pigment staining my skin.
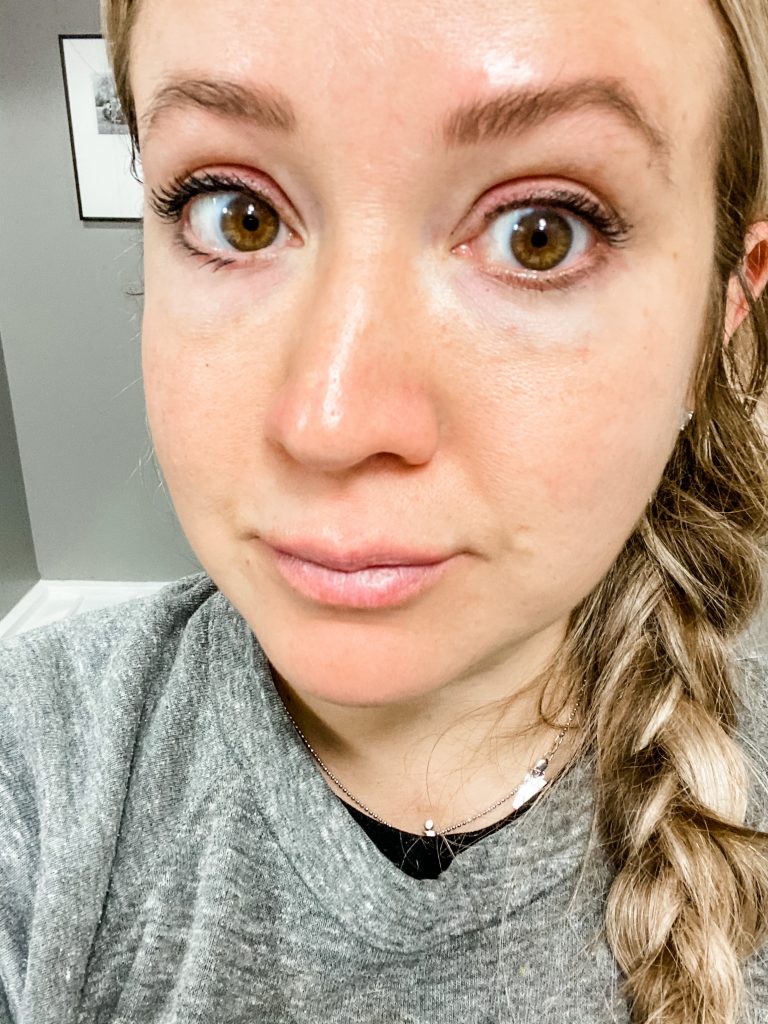
- Start with a clean, fresh face. If you’re using the barrier cream, you can apply it to the skin around your brows. This is where a ChapStick can really shine for its easy, mess-free application.
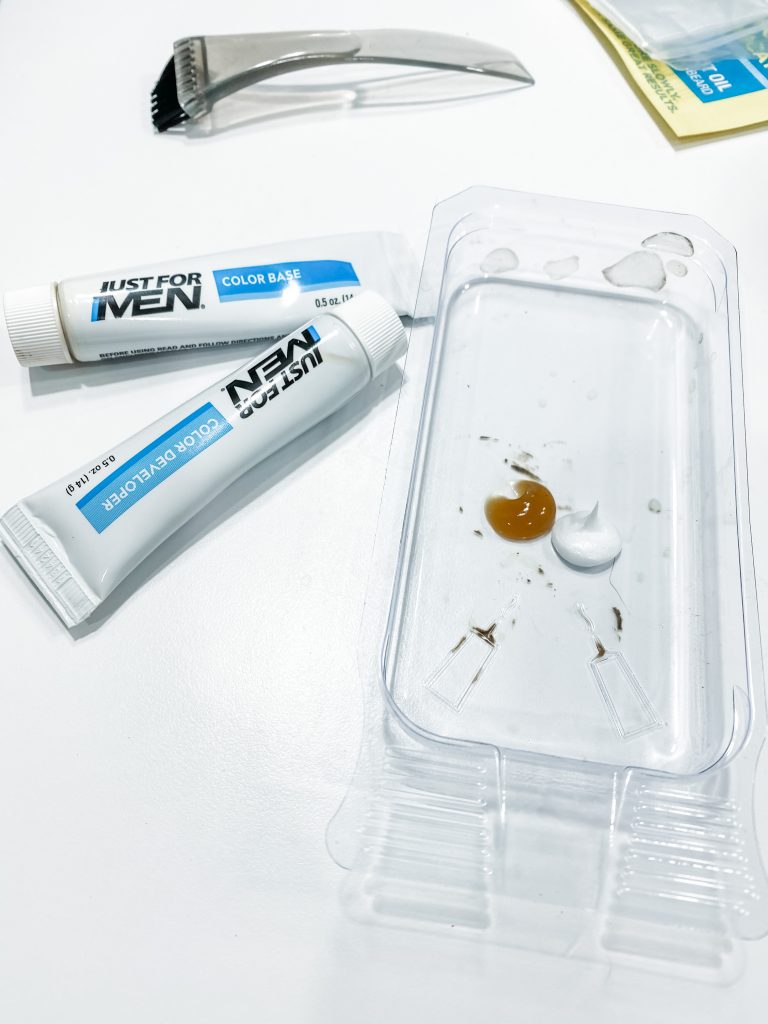
- Mix equal parts of the two tubes in the reusable tray with the included spatula. About a pea-sized drop of each works well to cover both brows.
- Quickly apply the product to your dry brows with the spoolie. I tend to brush mine up and then outward. Pick your starting brow and commit to it! You need to know where you started so you know which one to wash first to ensure even development of the color.

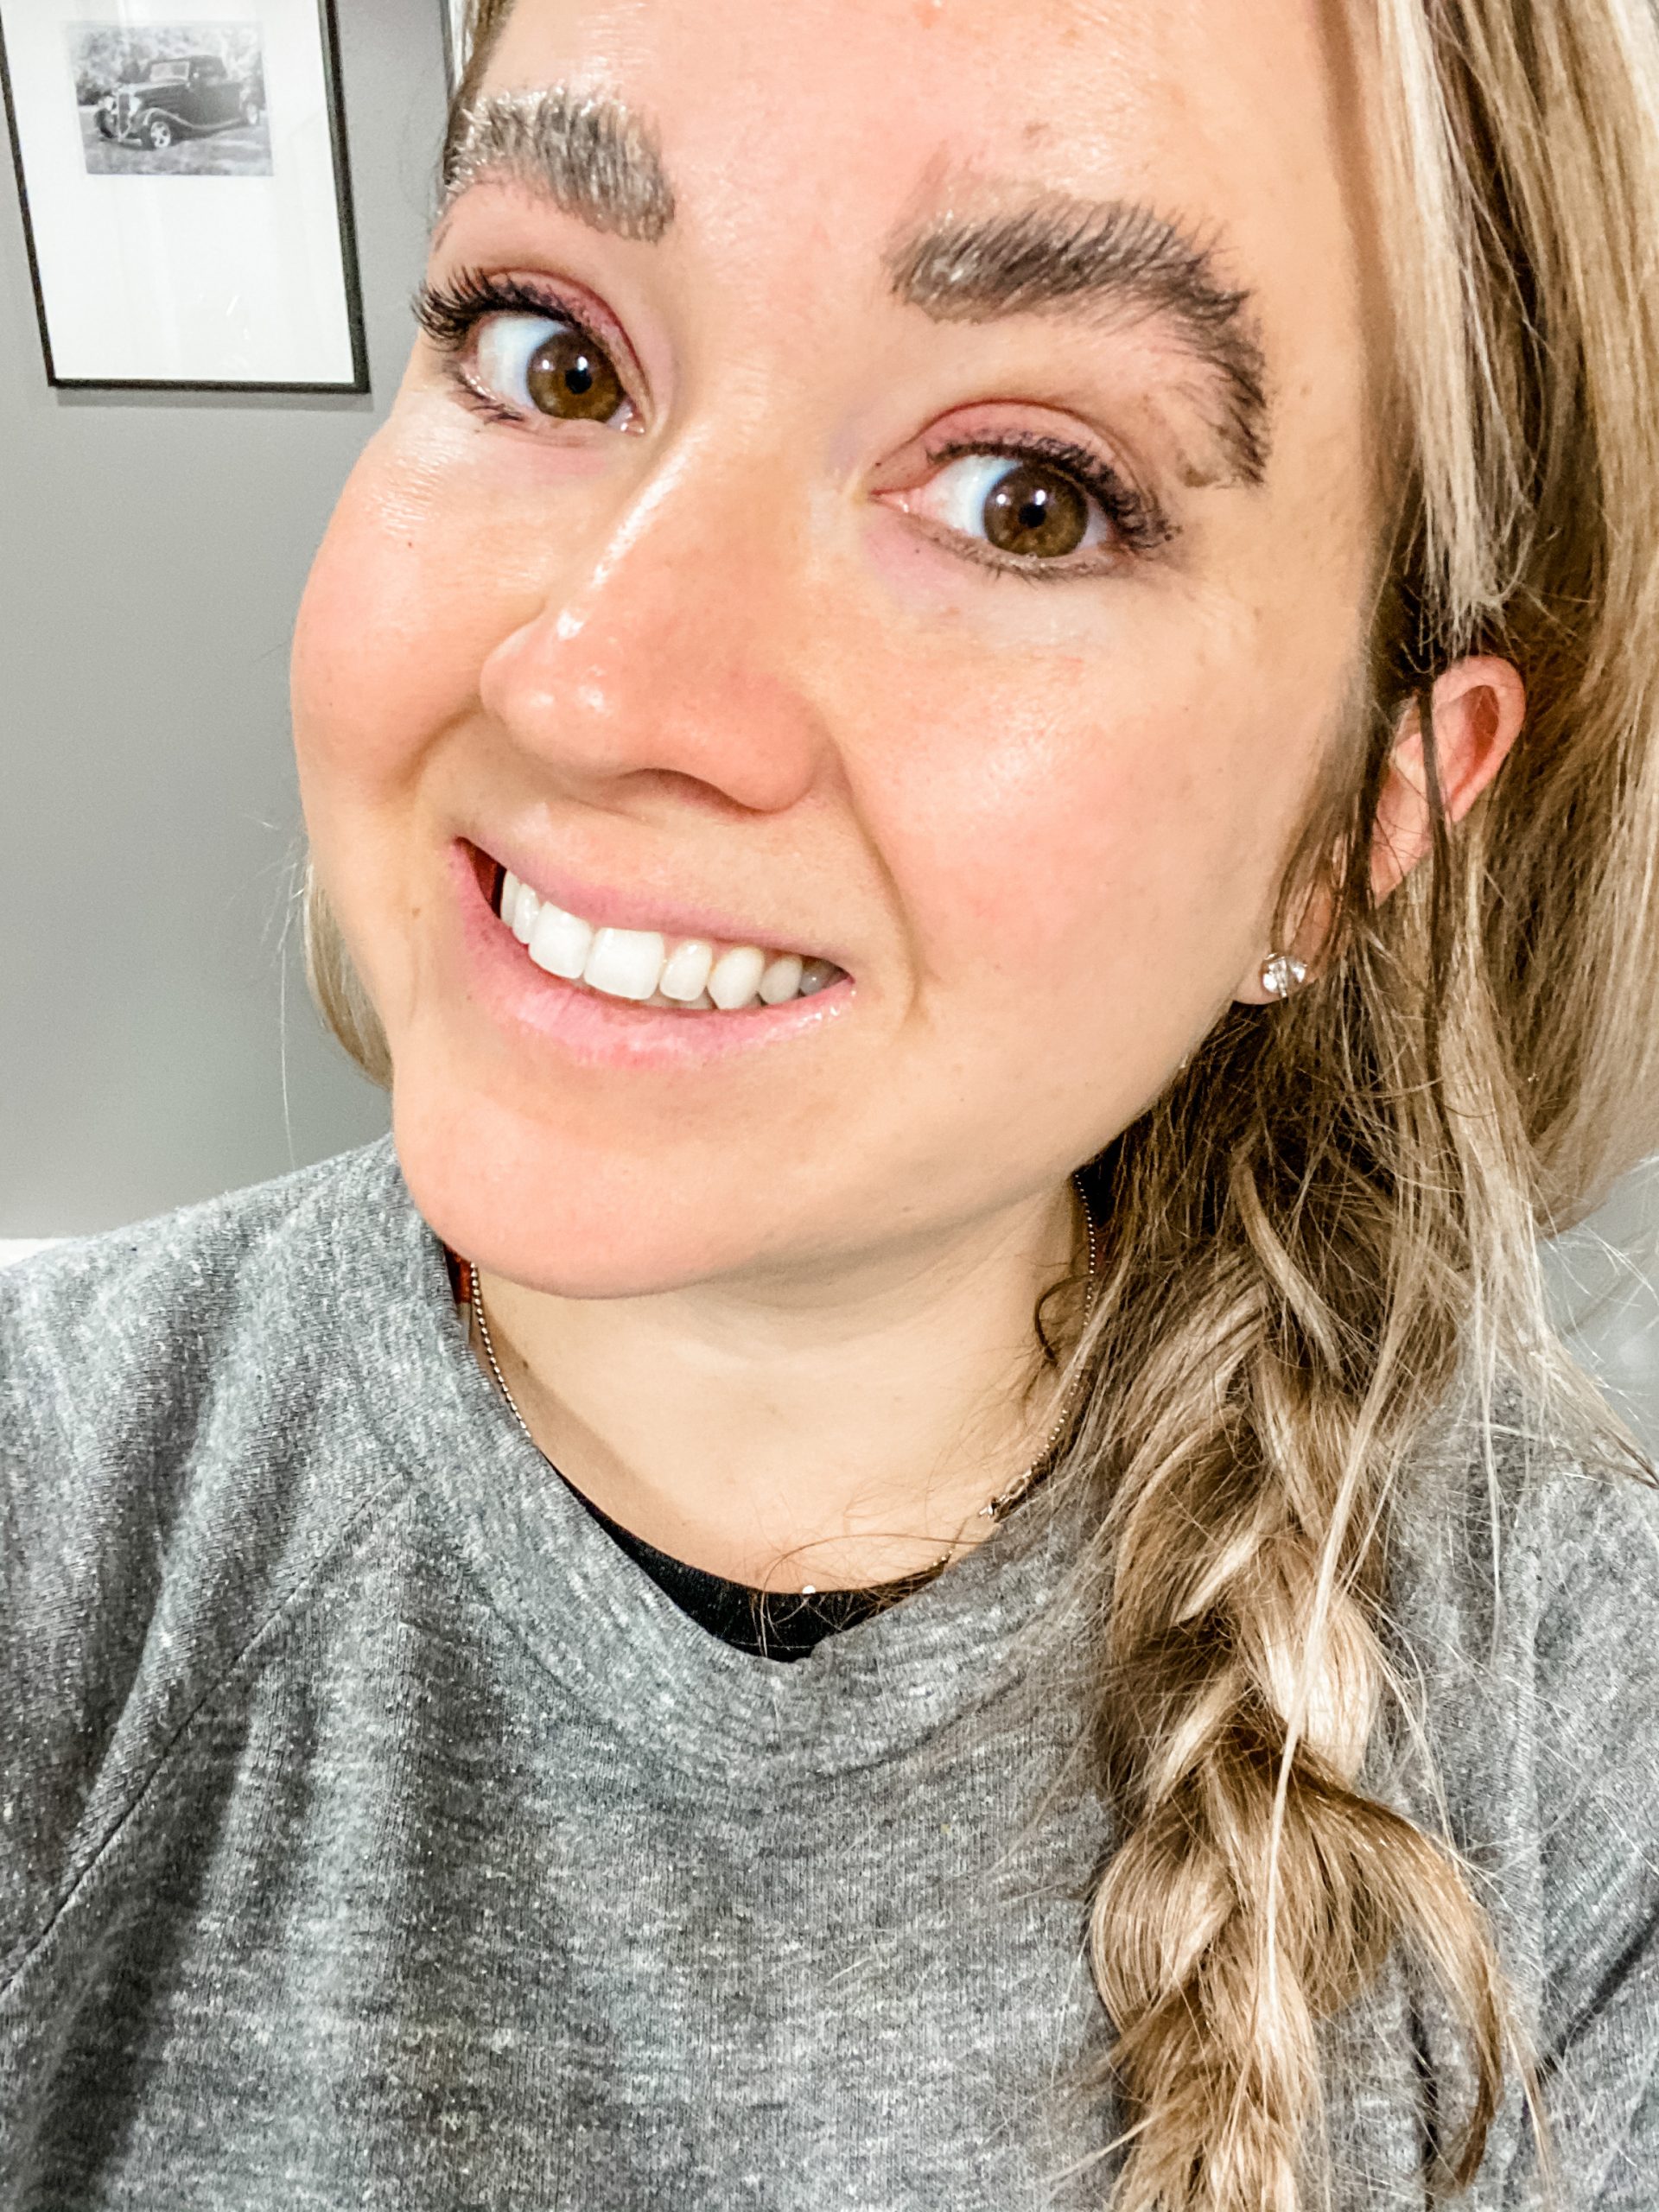
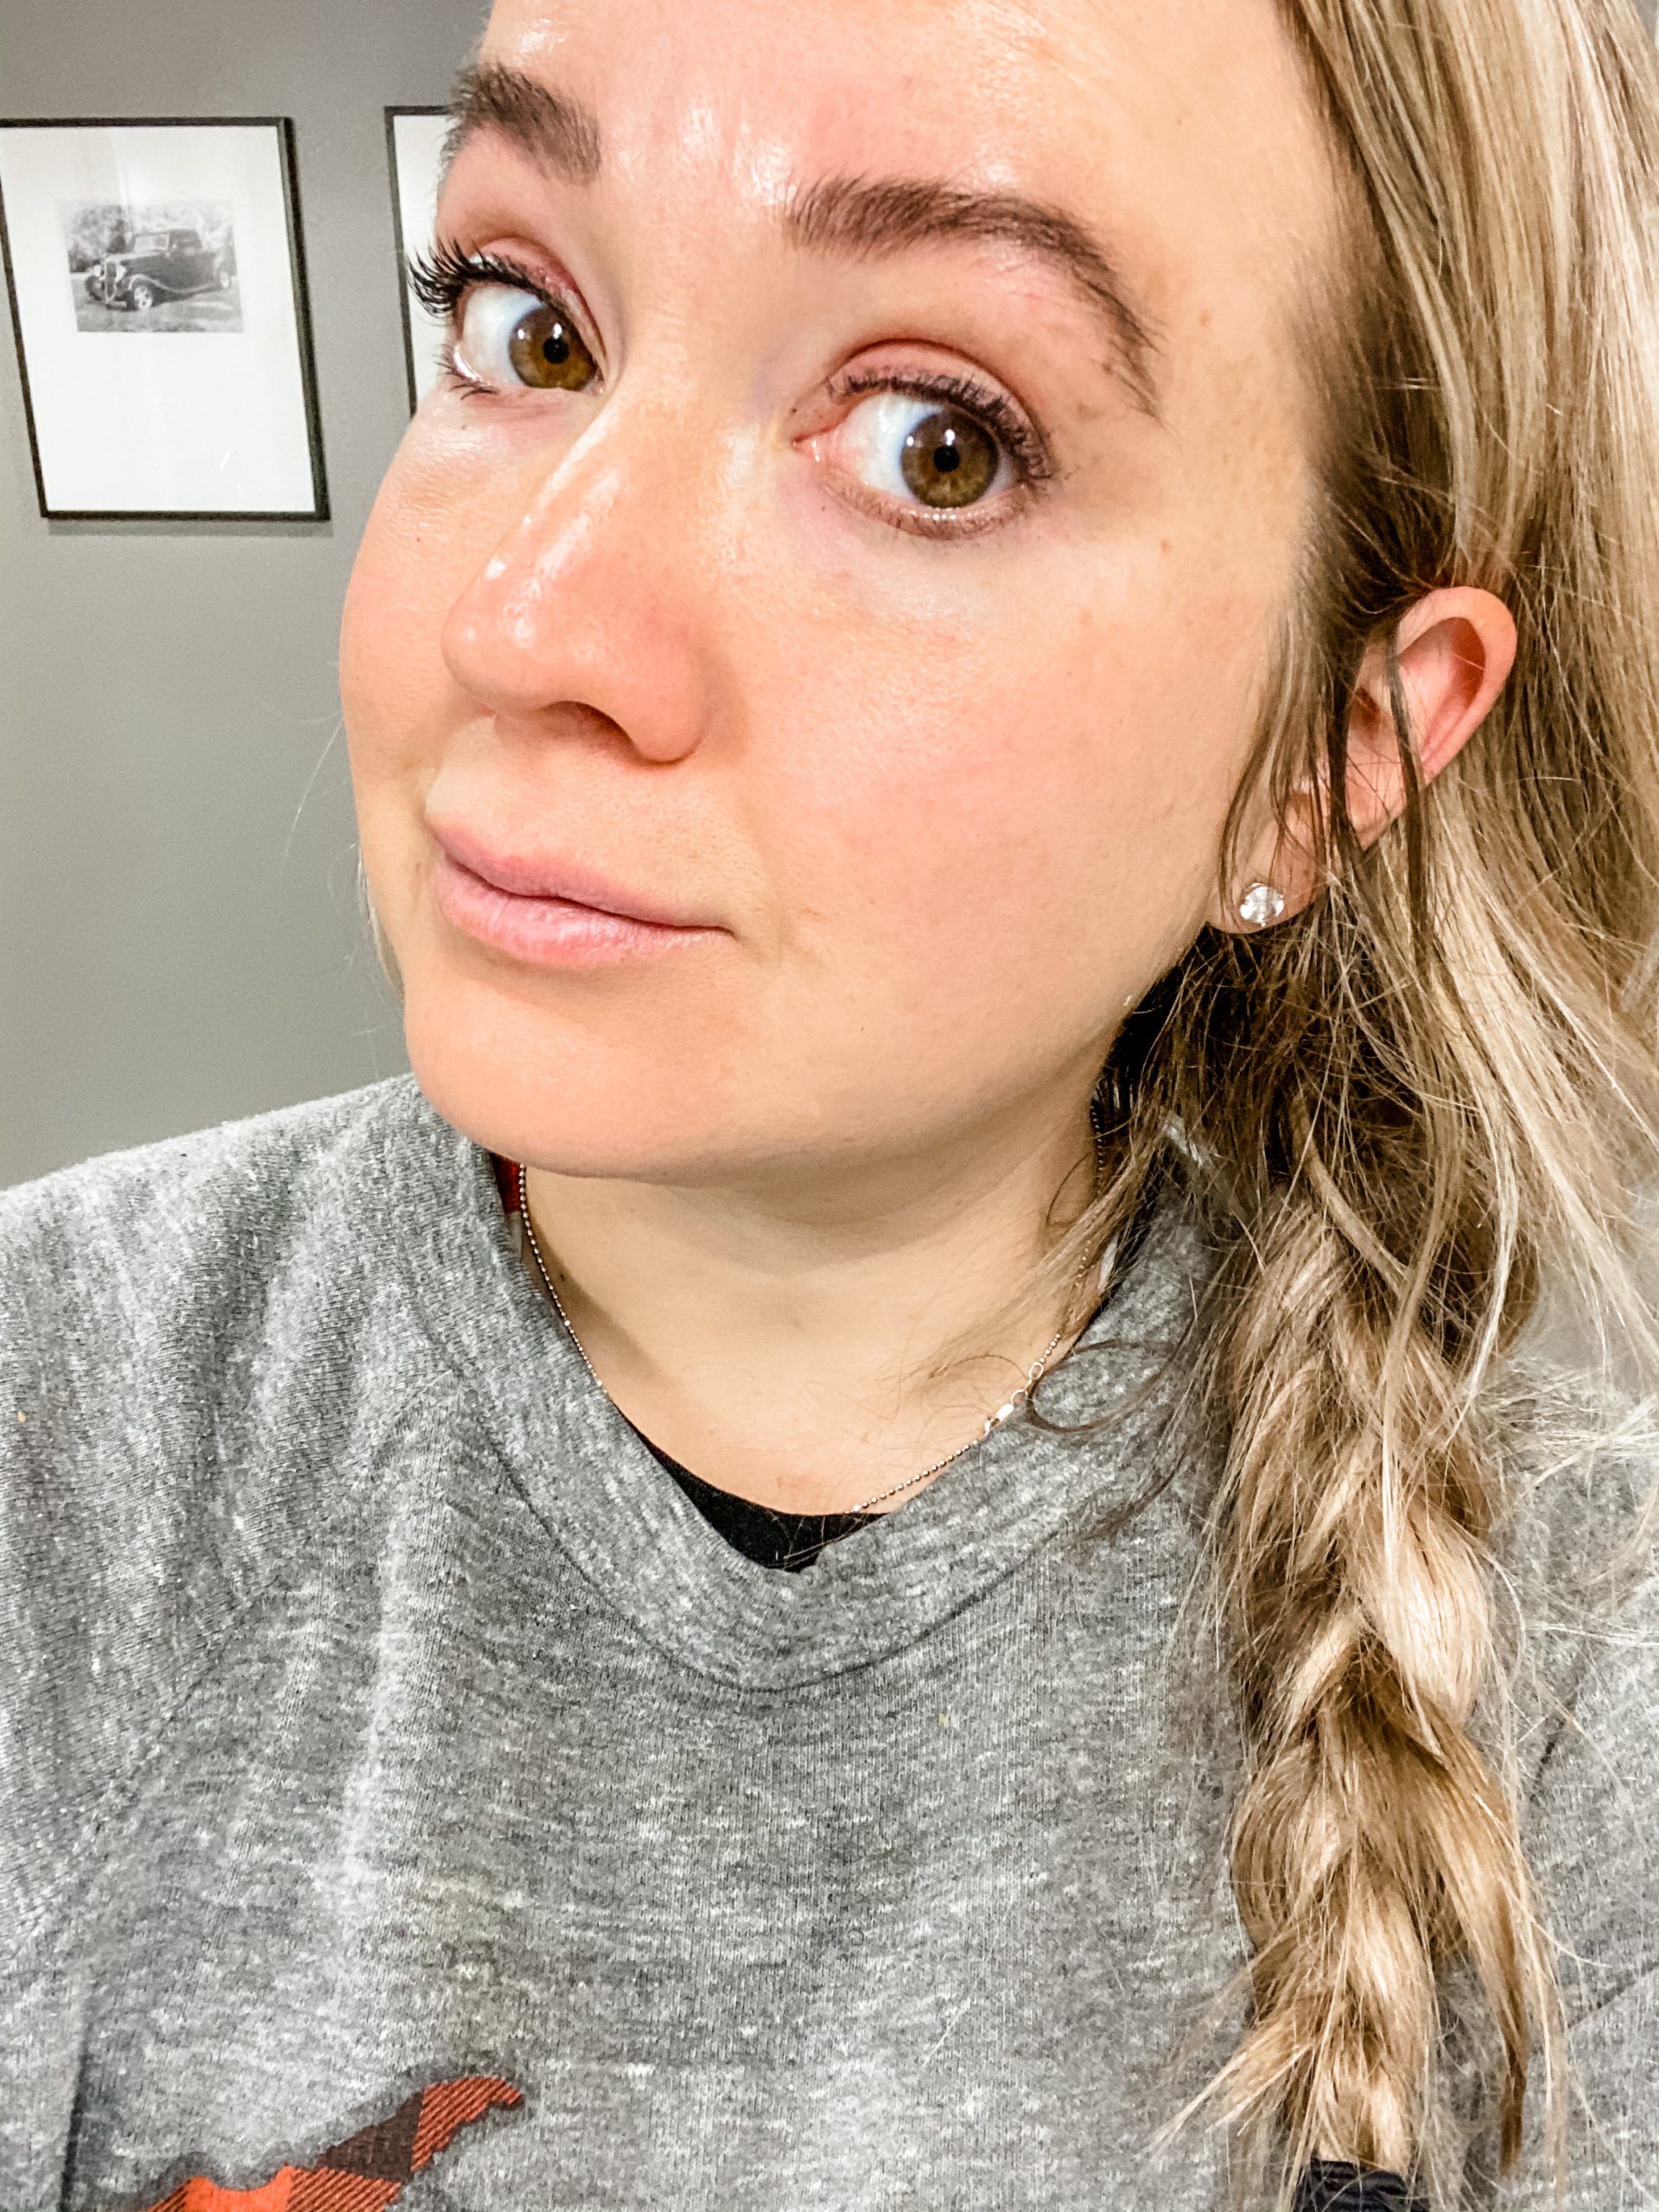
- Start your timer! Usually 4-15 minutes is more than enough time. I recommend starting with 4 minutes the first time because if your brow tint is a little light, you can always leave it longer next time, but if you over-develop, you could venture into scary Sharpie territory. During the development you will see the product getting darker. This is a great time to take a selfie because if you’re not looking like Johnny Rose, you’re doing it wrong.
- Times up! Use a wet washcloth or a cotton pad to wipe off the product, starting with the side on which you started your application process. I like to wash my face with cleanser and water right after just to make sure the excess pigment is washed away. Feel free to scrub into those brows!

- Check it out. If you’re too light, then next time, let your timer run a few minutes longer. Too dark? Give it a day or two, it might just take some getting used to. REALLY too dark? Wash with shampoo or dish soap a few times to strip the pigment.
- For clean up, just rinse the tray, spatula and applicator and let dry. It can store in the box and be used for multiple applications.

I usually tint my brows once every three to five weeks. While the color looks great on its own, I do love a quick swipe of Glossier’s Boy Brow to add a little extra hold and texture.


