


Do you carve pumpkins for the fun of creating a masterpiece, or do you truly just want the seeds? My husband and I have been carving pumpkins together for years, and while we certainly have created some masterpieces, I think he agrees to do it just to get the pumpkin seeds. Problem is, most of the years have resulted in recipe fails.
Let me share a few recipe styles we’ve tried and give you a few tips to hopefully avoid years of yucky pumpkin seeds.
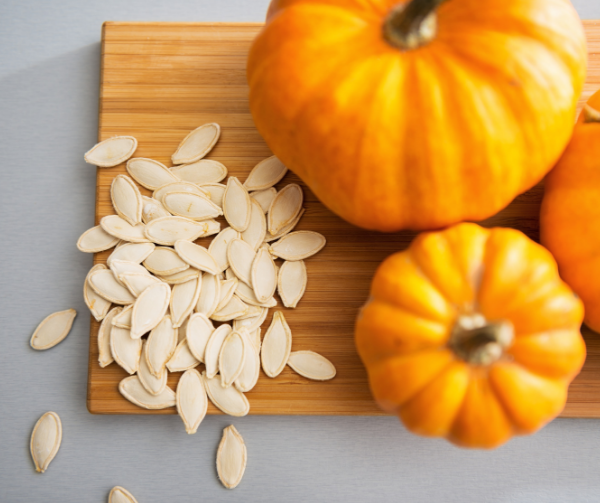 Be careful with the sweet and salty…
Right out of the gate, our biggest failure is, hands-down, the year we wanted to make sweet and salty seeds. Sounds yummy, but if you miss or alter one step…disaster. Sweet and salty can mean a variety of ingredients, so consider using honey, brown sugar, white sugar, cinnamon, and, of course, salt.
Whichever you choose, if you are using honey, please take the following tip in to account:
Cook the seeds with the added honey in a skillet before putting them on a foiled baking sheet in the oven. This step is crucial as it allows time for the honey to cook on to the seeds, and it will make them less sticky. What this translates into is we did not cook them ahead of time. We simply mixed all of the ingredients together, including honey and sprawled them across a lightly greased, foil-lined baking sheet. When the seeds came out of the oven, it took us all of 15 minutes to try and pry a handful of seeds off of the foil before we tossed everything in the trash and called it a fail.
Give your seeds time to sit and dry out.
There are a few reasons why this is important. You will need to more than double the cook time that your recipe states if you cook them right from the pumpkin to account for the wetness of the seeds. This is where the preference piece comes in to play: we prefer our seeds crunchy and almost burned, which will take decades if the seeds haven’t been dried first. A tradition my husband and I have after carving our pumpkins is sitting and eating our seeds while watching Halloween, the same night we carve the pumpkins. There are a few years I had to dig into our candy stash for the trick-or-treaters because the seeds were taking hours to cook to the crispy perfection we prefer.
In preparation for this year’s carving and seed cooking, I have done a little research on the best way to cook seeds and came across a tip to boil your seeds (before placing them in the oven for baking) for approximately two or three minutes. This will help speed up the cooking process if you aren’t drying them out over night first.
Be generous with the flavorings.
If you grew up eating those salted pumpkin seeds in the red package like I did (I hope there is someone out there who knows what I am talking about!), then this next tip may be important to you, too. Season, season, season! Let’s be honest: I like pumpkin seeds for the salt. However much seasoning your recipe calls for, double it! The seeds will taste better if the seasonings have been baked on, so go heavy right from the start instead of having to add on more seasoning once they have already been cooked.
I hope you enjoyed some of these pumpkin seed tips, and most importantly, I hope they save you a few “fails” this fall season. If you have a great recipe, please send it my way. My husband will forever be grateful!


