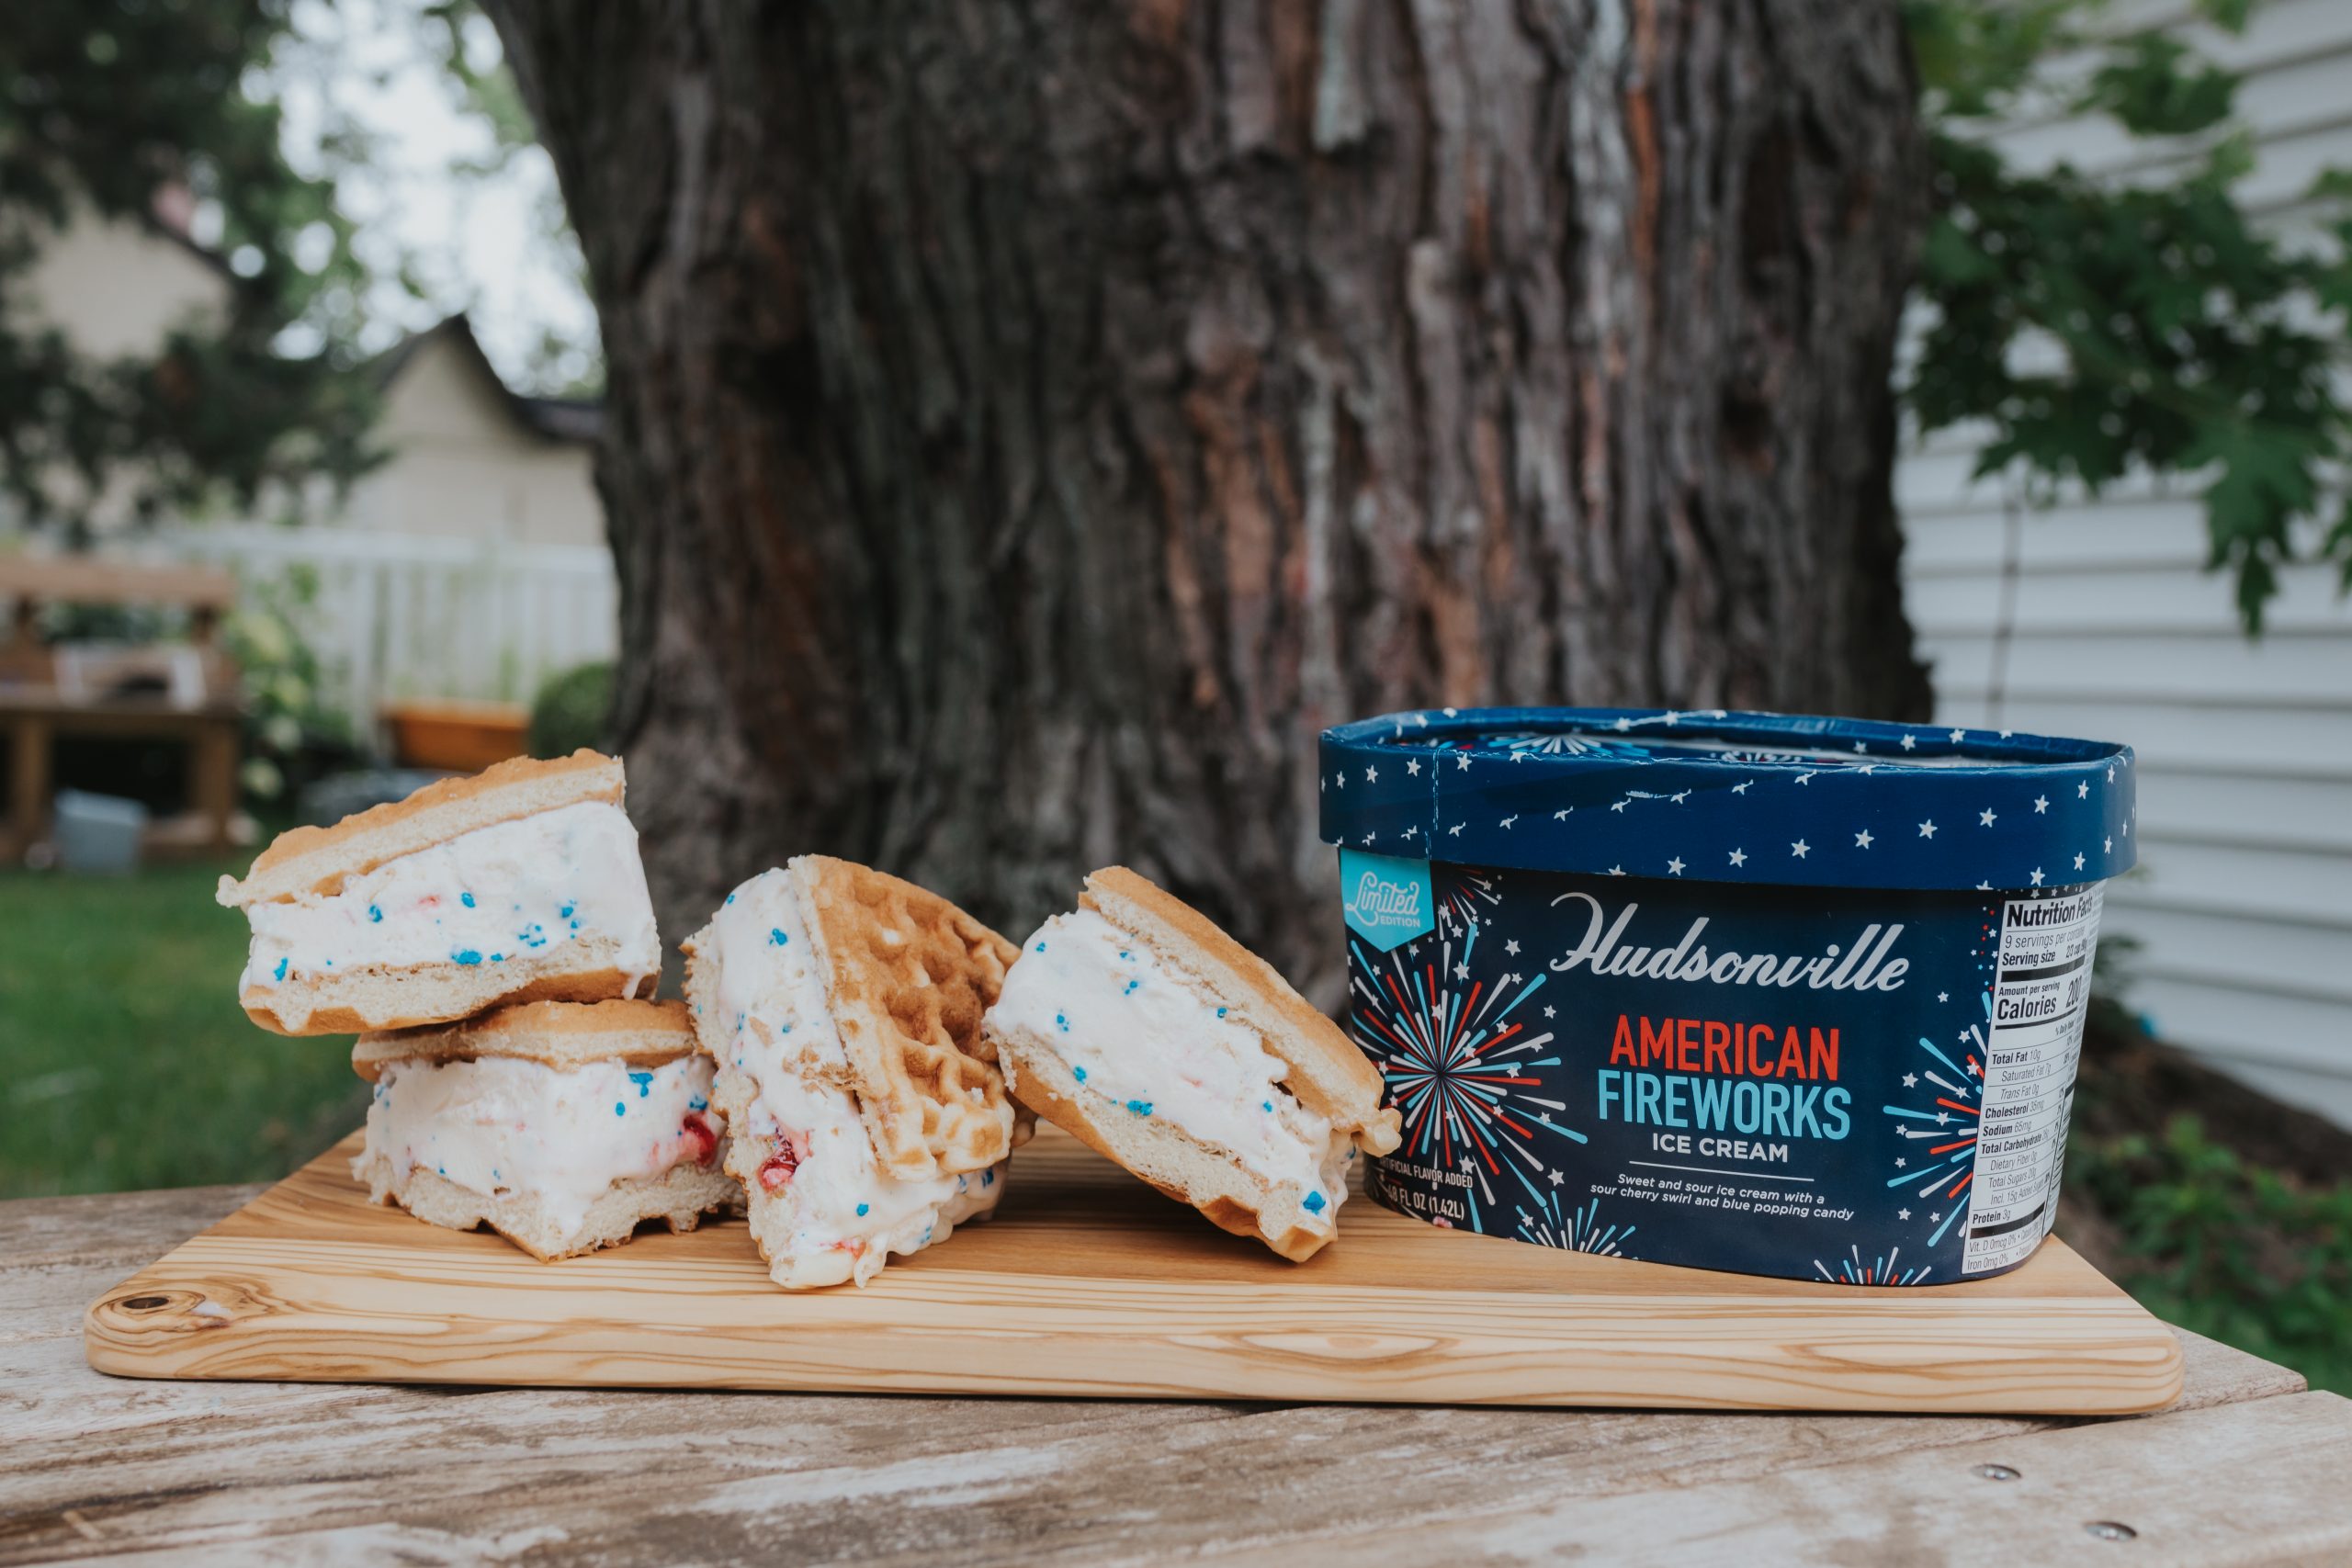
Another summer is upon us and, once again, I’m trying to be the cool mom. You know, the mom searching Pinterest trying to get all crafty with her kids’ treats. Well, this time I was determined to find different ways to make ice cream sandwiches myself. You see, our kids are obsessed — I mean obsessed — with ice cream. It’s the best way to bribe them into just about anything and, if I’m being completely honest, I have no shame in that.
 When Hudsonville Ice Cream released their Limited Edition American Fireworks Ice Cream, I decided I’d test out a new recipe for the 4th of July that would get me to “cool mom” status. We’ve already gone the cookie route, so I was looking for something a little different. After several hours of searching Pinterest, I came across Waffle Ice Cream Sandwiches. Since Hudsonville’s American Fireworks Ice Cream includes sour cherry swirl and blue popping candy, I figured I’d pull out all the stops by including Pop Rocks. Throwing it back old school and bringing out some gems from my childhood!
 Waffle Ice Cream Sandwiches
Serving Size: 8 ice cream sandwiches
Prep Time: 20 minutes (Depending on your waffle-making skills!)
Ingredients
- 1 box of your favorite pancake/waffle mix
- 1 carton of your favorite Hudsonville Ice Cream (we used Limited Edition American Fireworks)
- Fun toppings (We chose Pop Rocks.)
Instructions
- Prepare your pancake/waffle mix as directed on the package and use your waffle maker to make the waffles. (PRO-TIP: cook the waffles a little bit longer so they’re crispy, otherwise they will be soggy and super hard to work with.)
- Make sure you cool the waffles completely. We recommend cooling on a rack at least 20 minutes. If they aren’t completely cooled, the ice cream will slide right out.
- While you’re waiting for the waffles to cool, soften the ice cream just a little. You don’t want it too soft, just soft enough to spoon onto your waffle.
- Take a spatula and spread the ice cream in an even layer, about an inch thick and all the way to the edges.
- Place another waffle on top of the ice cream. Make sure that you line them up so that it’s easier to cut once you’re ready.
- Place in the freezer for 30 minutes to an hour.
- Once the ice cream has hardened, cut it into four triangles.
- Take your Pop Rocks (or other toppings) and pour them onto a plate. This makes it super easy to dip one of the sides into. Note: the Pop Rocks will start popping once they hit the ice cream!
 Notes
Notes
- You can use any toppings you’d like. You can never go wrong with sprinkles, chocolate chips, or crumbled up Oreo cookies. The sky’s the limit when it comes to toppings!
“Cool Mom” status starts with just having some fun.
 Here’s what I learned in the process of trying to be the “cool mom” once again: you don’t have to make everything from scratch. Your kids won’t know if it comes from a box or if you made it yourself. Insert me attempting to master the waffle maker for the perfect ice cream sandwich. I think I spent more time trying to figure out the perfect ratio of waffle mix and cook times than anything else. Thankfully, once I figured that out, it was all smooth sailing.
When it was all said and done, my kids absolutely loved this fun ice cream treat and we made special memories in the process. Have a little fun with the kids and give this one a try!
 Hudsonville Ice Cream is continuing their long tradition of flavor development with their amazing Limited Edition options. You won’t want to miss the American Fireworks ice cream flavor for this delicious recipe, so grab it now while it’s still in stores! Use the Hudsonville Scoop Locator to find Limited Edition American Fireworks ice cream at a grocery store near you. Oh, and don’t forget to snag your $2 off coupon HERE!


