

It’s time to face the truth: summer is over, and fall is upon us. The crisp mornings have me excited for puffy vests and cozy boots. Pulling out all of the cold weather items can only mean one thing: it’s time for closet clean outs!
Full disclosure though, I really enjoy going through my belongings and getting rid of things. I find it deeply therapeutic and believe it’s a great way to get a fresh start in a simple way. I typically go through my closet twice a year, but this last one was my largest purge to date.
In order to get into the mindset of undertaking what could potentially be a large and time-consuming task, you need some inspiration. This time around, I was inspired by a documentary called “The Minimalists,” as well as a small obsession with following professional organizers on Instagram. The idea behind both is that having more stuff does not make you a happier person and having stuff you don’t use can make you feel weighed down. I completely agree with both sentiments.
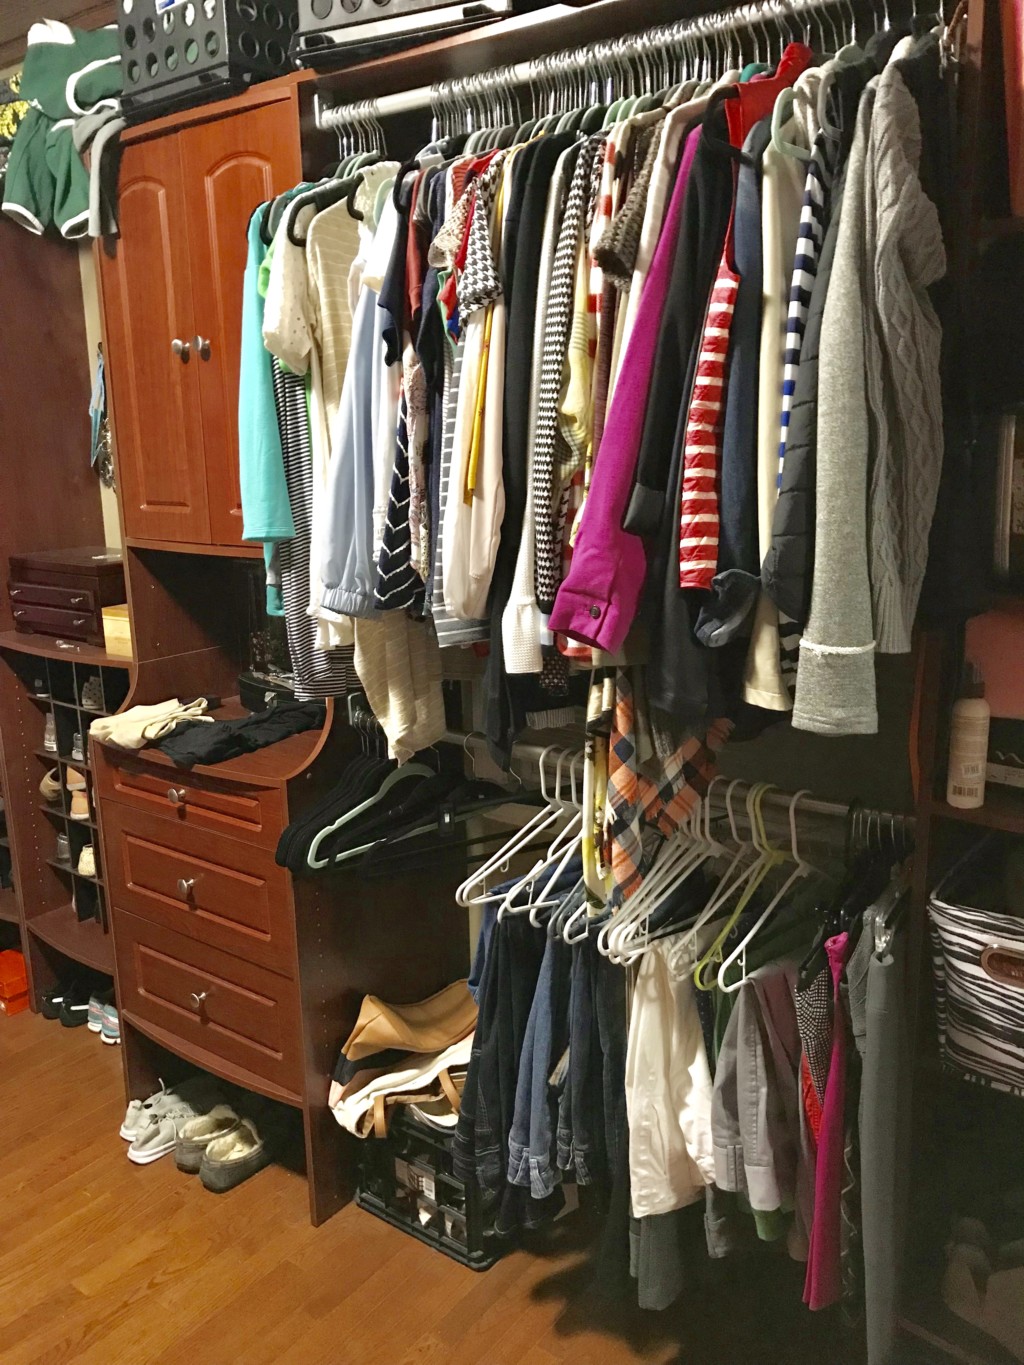
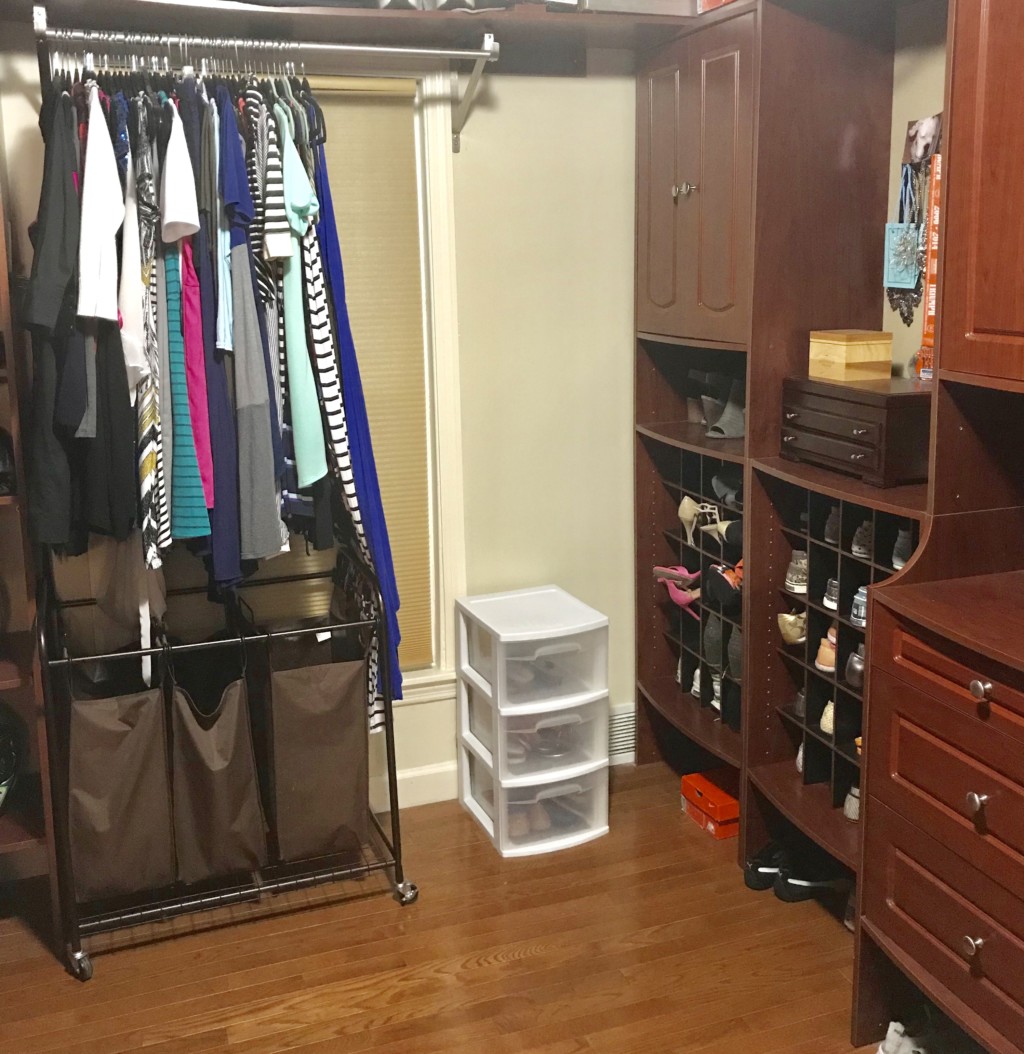
Here’s a peek at what my closet looked like BEFORE the big clean:
Once I was mentally fired up, I used the following method to tidy up my belongings:
Step 1: Make Space.
I make two piles while purging my closet: trash and donate. Trash is for items that I wouldn’t feel right having someone else wear or use in their current state; donation items are for pieces that are in good condition. Keep these piles separate from anything you are working on or keeping.
Step 2: Try on EVERY last piece of clothing.
Daunting? Yes.
Necessary? Absolutely.
In the past three years my weight has fluctuated so much. This made it easy for me to make a go-to wardrobe of leggings and loose-fitting shirts because I knew they fit. But what about all the other clothes I still liked? Would I ever wear them again? Did they even fit? It was time to find out.
As I sat in my closet trying on every last bit of clothing, I faced the reality of how my clothes actually still worked. I decided to get rid of things that didn’t fit properly, big or small, as well as anything that made me go “meh” when I looked in the mirror. I couldn’t believe the number of pants I was holding on to because I thought they fit but were actually too big.


Which brings me to another point in doing all this on and off: on an episode of “The Oprah Winfrey Show,” back in the day, a professional organizer mentioned that if you haven’t worn something in two years, it’s time to let it go. Clearly you aren’t thinking about it or missing it, so why let it take up space? Most of those items with a two-year expiration date weren’t even fashionable anymore. Goodbye sequin cardigan! It was fun while it lasted!
Finally, I was able to see if items were damaged with stains or holes and, if so, pitched them in the trash pile. Life is too short to be walking around in shabby-looking clothing.
Step 3: Check out your shoes.
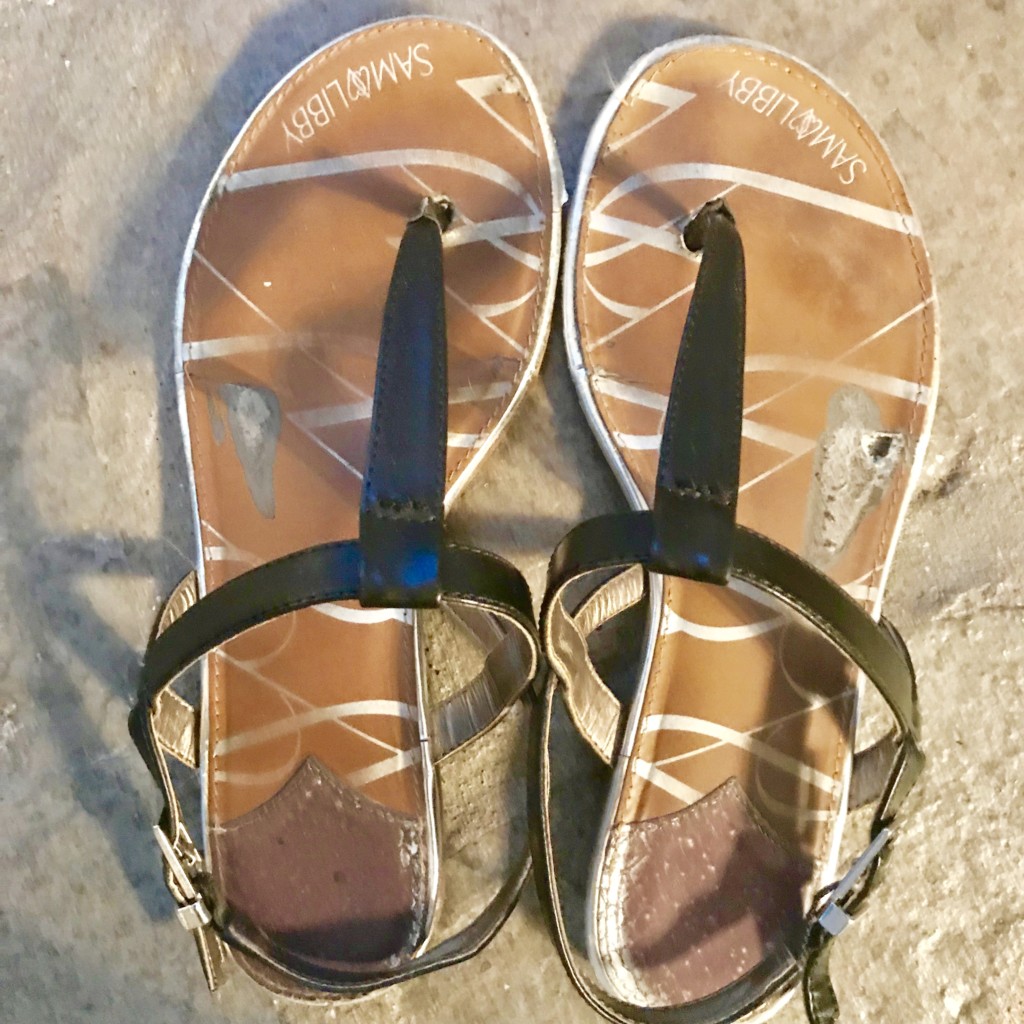
Shoes are something I adore, but sometimes I love them to death– literally. Like, until they are falling apart. I checked the quality of all of my shoes and got rid of ones that were fraying, overly scuffed, or, frankly, just out of style (2001 called and they want their sling-back, peep-toe pumps back!).
Step 4: Browse the accessory rack.
Same idea as Step 2: if you aren’t wearing it or using it, why hang on to it? Set aside watches that need new batteries and necklaces that need untangling for another time. While you’re at it, find a new home for that Mother’s Day macaroni necklace.


Step 5: Get personal with your underwear.
Time to go through your undergarment drawers! Pitch socks that don’t have a mate, tired undies (ahem, do those have HOLES in them?!), ill-fitting bras, and those Spanx that have seen one too many weddings. No one said you have to try to make your undergarments last forever; get yourself an upgrade, lady!
Step 6: Organize!
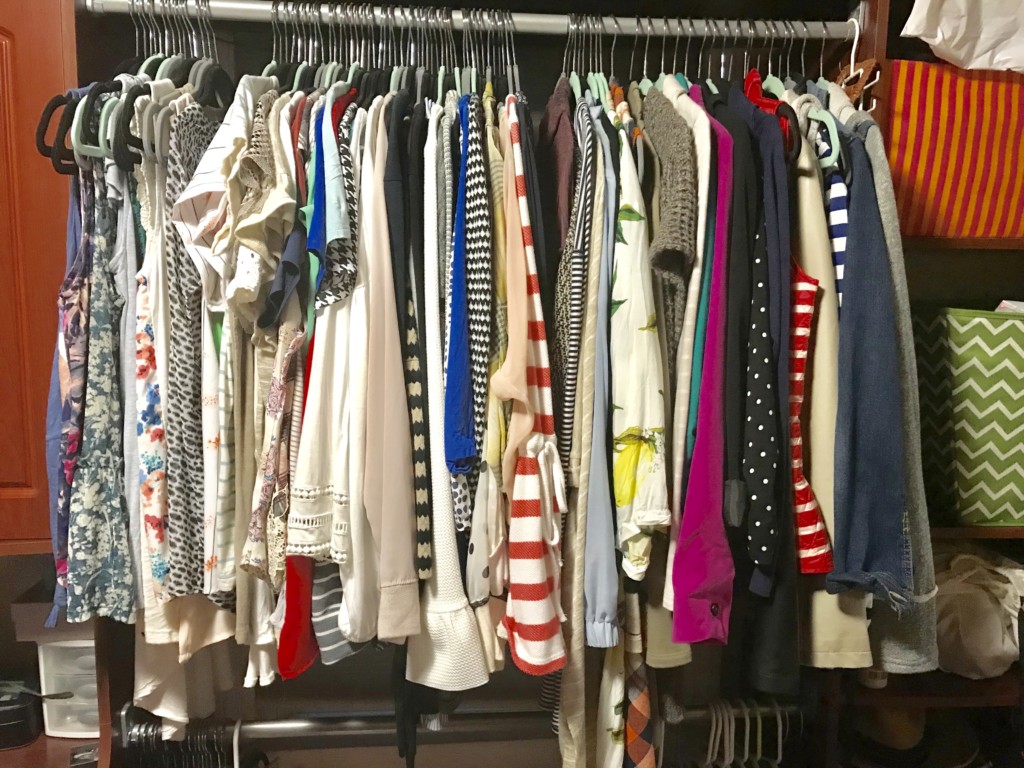
Try organizing by type of clothing; my brain just works better when I can see all of my choices at once.

I also try to separate items that are similar in color away from each other because if they are all mashed together in a grey and black blob, I won’t remember what I have.
Drawer organizers can help keep things in their place. I bought these a while ago, and now that I have less stuff, I can actually use them to separate things into compartments where I can find them more easily.


Step 7: Get it out of your house.

Take your two piles, bag them up, and send them on their way. The longer you let the bags sit around, the more likely you are to rummage. Put the trash in the trash cans, or take it to the curb. (If you can’t make time for a drop-off, services like donatestuff.com will come to your house– free of charge– to pick up your donations). Then, sit back and enjoy the feeling of satisfaction for completing this amazing feat!
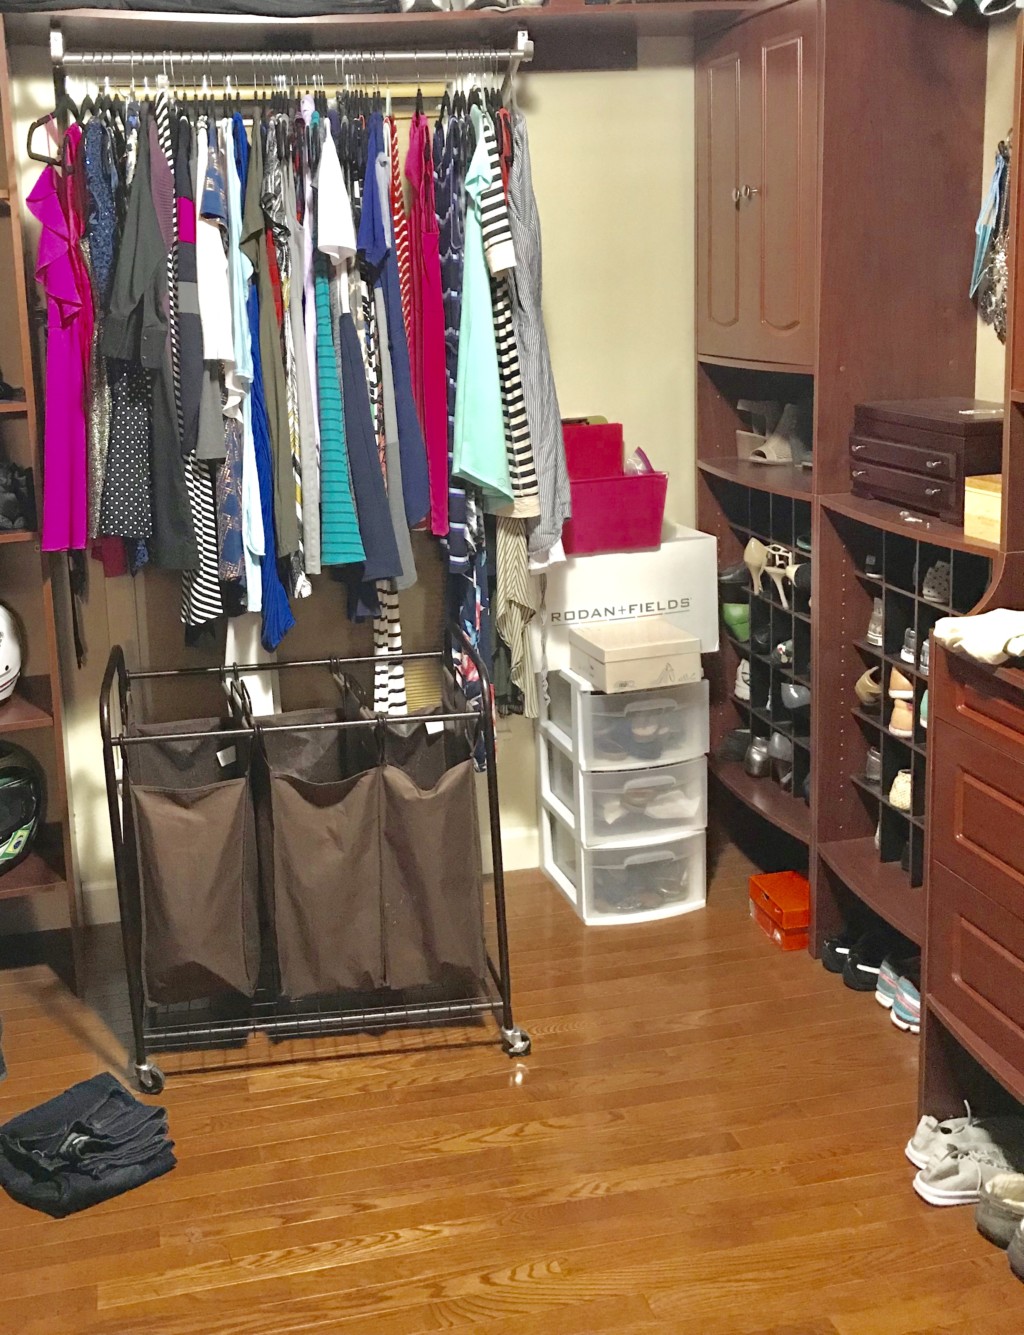
Here’s the end result: lighter, more organized, and full of only the things I really enjoy!


