

Traveling with littles can be stressful for a lot of reasons, but keeping them occupied can help minimize some of the chaos. I’m all for electronic entertainment for the sanity of everyone involved, but batteries only last so long, and you or your child may need a break from the screen. In comes a handy dandy “busy bag.” Essentially, a busy bag is a small collection of items that can entertain your kiddo. You can make virtually anything into a busy bag and can utilize it anytime, but for now, I’m going to focus on travel-friendly options. My son is 1 and puts any and all things directly into his mouth. I also nanny a 3-year-old boy, so when I make busy bags, I keep them both in mind.
Where are you traveling this summer? What kind of fun activities do you take to keep your little occupied on the road?
- Keep it simple. You don’t want too many pieces to keep track of and you won’t want to include anything that would be missed if it were to get lost. I try to use a lot of recyclables that are always in abundance, like cardboard tubes or plastic caps.
- Stick with the go-to favorites. I like to use busy bags as an opportunity to branch out to new interests at home, but when you’re traveling, stick with their favorites so you can be sure they’ll enjoy it.
- Always be on the lookout. Busy bags can be extremely budget friendly, especially if you keep your eyes peeled year round. I like to pick up random items after holidays when they’re massively marked down. Little heart buttons don’t have to be used in February and little kids won’t notice that red and green pompoms vaguely remind them of Christmas season. Almost all the items I’ve used can be easily found at dollar stores, Target, Amazon, or your local thrift store.
- Double-duty items. Many of these activities will utilize similar items. Use that to your advantage and get more bang for your buck with each busy bag.
- Use your discretion to keep it age appropriate. You want it to be challenging and interesting enough to entertain them, but not so challenging that they struggle or lose interest quickly.
- The term “bag” is loose here. Things I’ve used in the past include clear zippered pencil bags, make-up bags, Tupperware, drawstring backpack, lunch box tin, ziplock bags, or empty wipes containers.
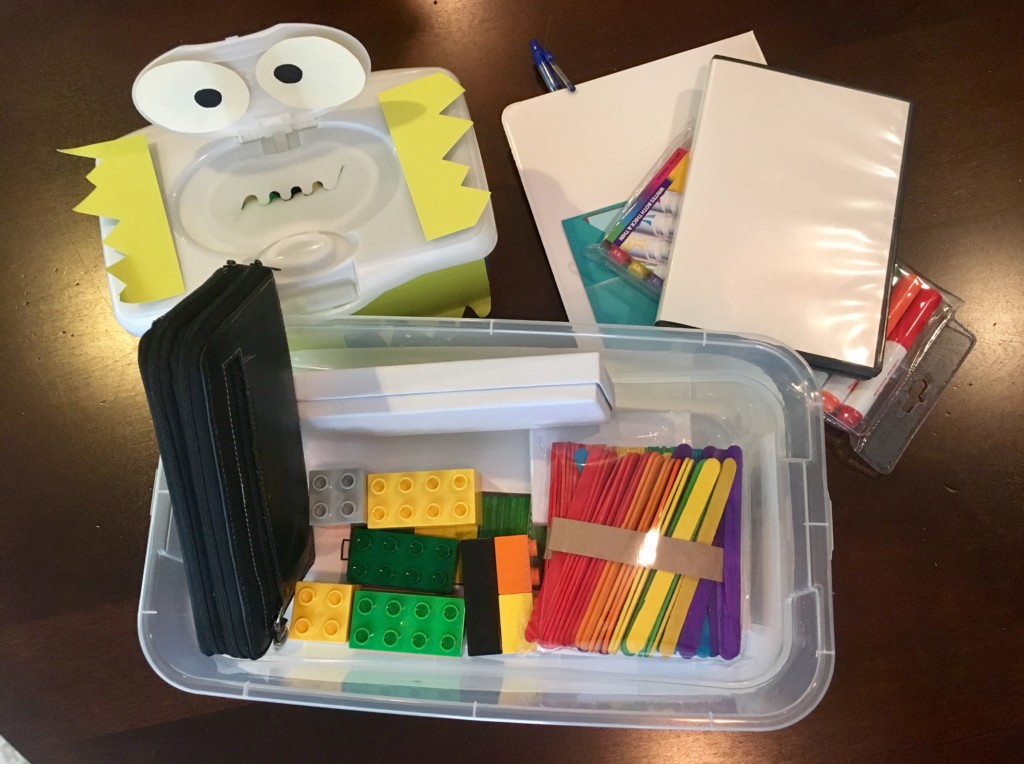
Some of these do take some prep time but can be stored away and used again and again. I like to keep mine all together in a big bin where I can peruse and choose which ones I need. Your child may be big enough to pack their own as your family prepares for a trip.
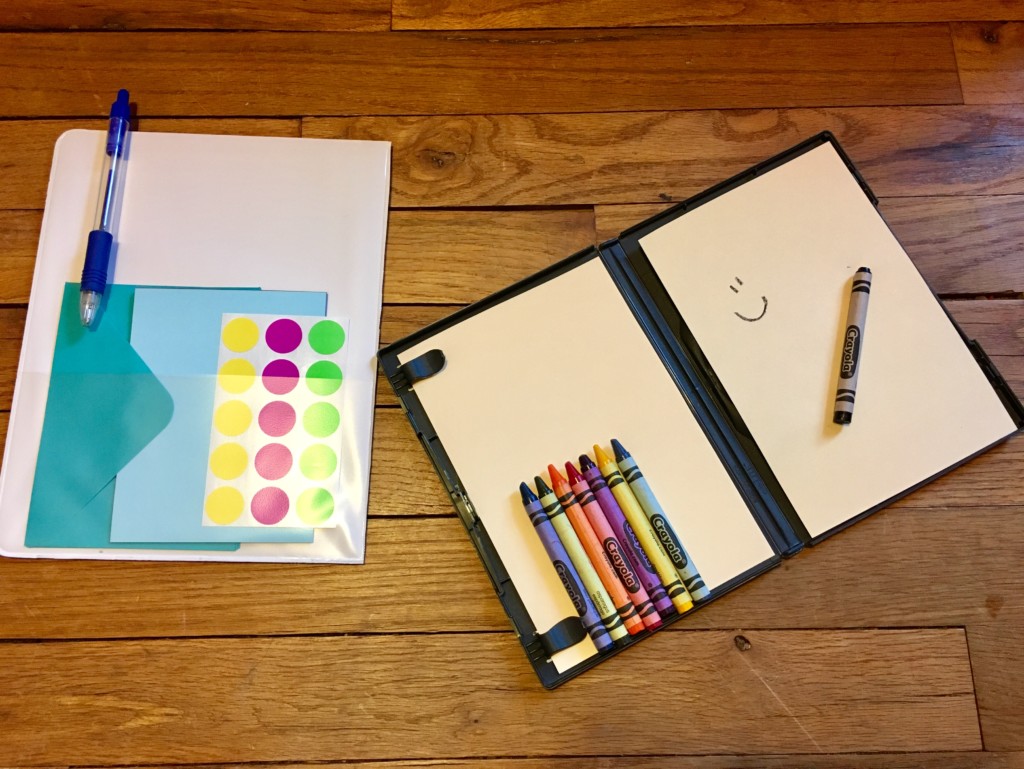
On-the-go art stations. An old DVD case can be used as a perfect mini art case. It’s the perfect size for post-it notes, index cards, those mini spiral notebooks, stickers, a few crayons, or those mini markers. If you’re willing to put a little more prep time into it, you could include DIY activity pages with mazes, crosswords, coloring pages, etc depending on the age range of your little.
A 3 ring binder can transform into a travel art/activity board. I took a binder with a clear laminate cover and a storage pocket and cut off the front cover. I tucked card stock, mini envelopes, and dot stickers into the pocket and clipped a pen to the cover. The front laminate sheet protector can hold extra paper or serve as a DIY dry erase board. It can also provide a surface to play with other toys, a double win.
An old wallet can be endless fun on the go. The kind with all the snaps, zippers, and little pockets are the best. You can fill the credit card slots with those blank YOUR NAME credit cards you get in the mail. Laminated family photos are fun to look at, maybe include the family members you are going to visit, or the ones you may miss that are staying home. Fake (or real) money and coins are fun to take out and count and play with. Little kids love to play with things that feel real to them, so they’ll enjoy having their own wallet with their own “stuff” in it.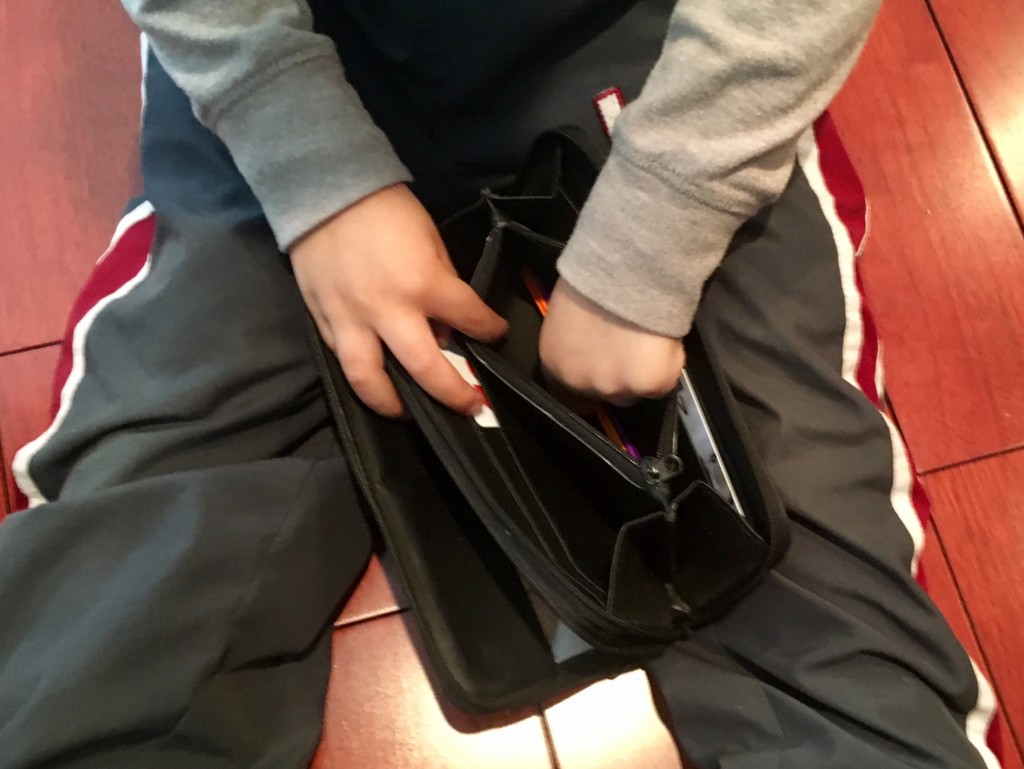
Legos. I like to take a bag of the larger kind and make templates that the child can follow, this activity doubles as a good skill builder. These templates can include patterns or simple shapes. You can tape or glue letters or numbers to the sides of the blocks and turn it into a math or literacy activity. You can take a simple picture, and cut it so that you have a mega block puzzle. The options are endless with this one. So versatile!

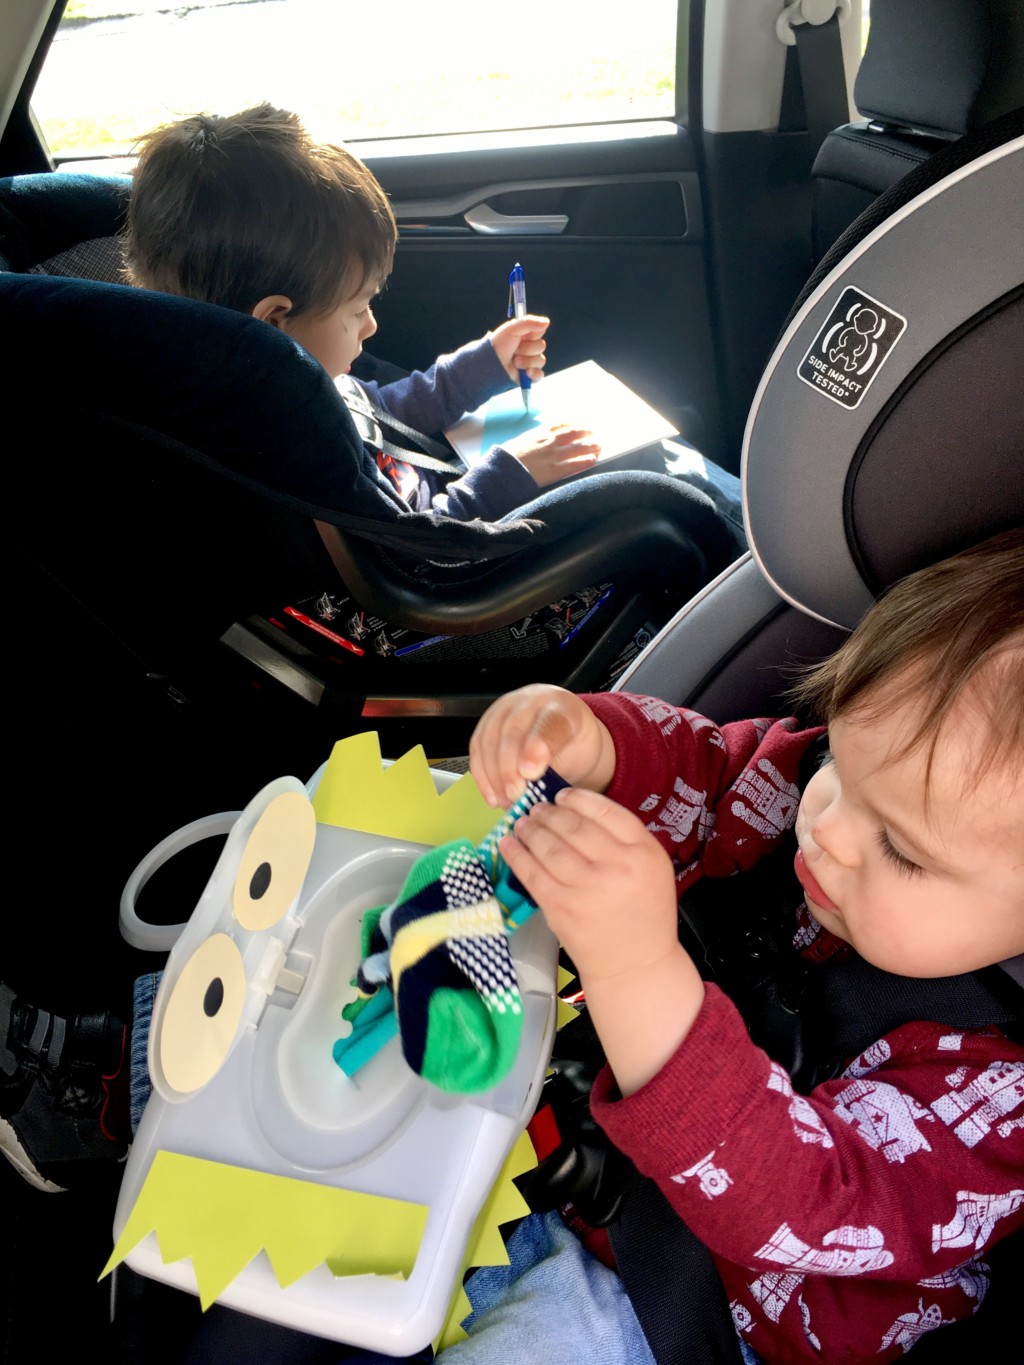
Wipes Case. My son could fill and dump things all day long. And since we always have a hundred empty wipes case around, they make a perfect little container for this game. I turned mine into a “monster” and we can feed the monster pompoms, fabric strips, milk caps, magnetic letters, basically anything. I had just sorted out all the tiny baby socks that no longer fit, and that was a big hit. The 3-year-old worked on making matches and the little one just stuffed, pulled, chewed, and generally wrecked the rest of the socks. To make it more appropriate for older kiddos I added letters using dot stickers to caps. I like to toss a cardboard tube into the wipes case as well because who doesn’t like to stuff those and watch things fall through the bottom.

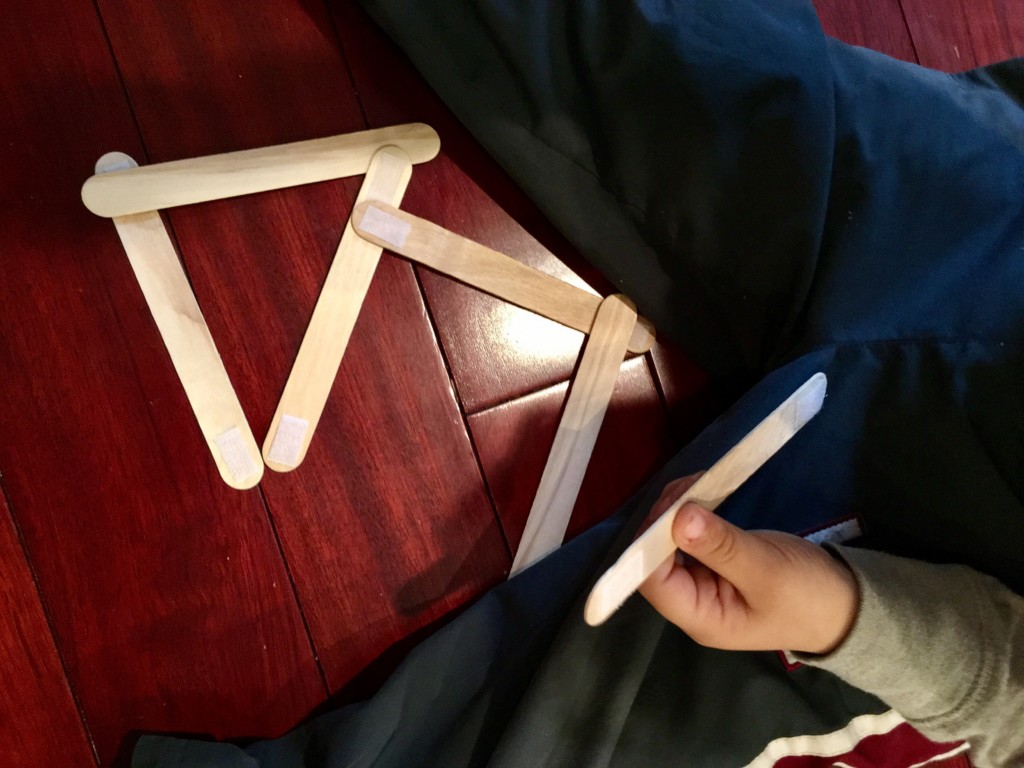
Popsicle sticks are another versatile item to add to your arsenal. I prefer the bigger ones and you can find big boxes on sale sometimes. I added velcro dot stickers to the ends so that they can be made into different shapes. You could also make them into a color matching or letter game. Children can sort them by color, by size, count them, etc. Throw them into a wipes container and you have another thing to fill and dump.
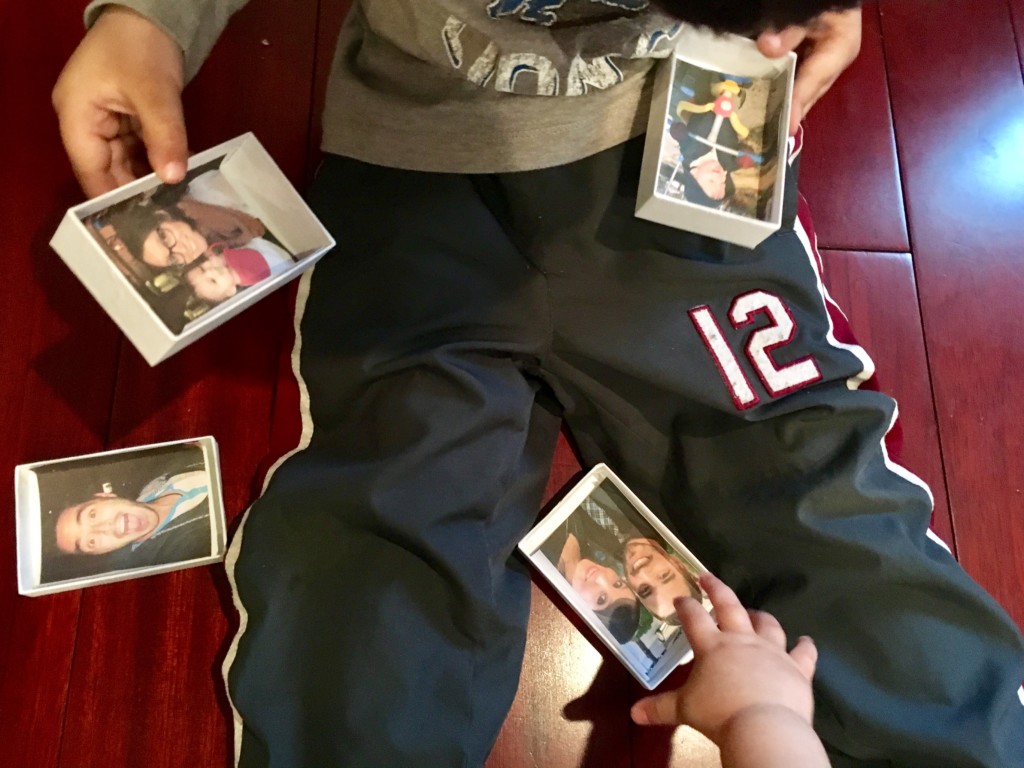
Memory games are another classic that can be turned into a quick DIY project. To make my own, I used small cardboard jewelry gift boxes and attached family photos inside. My little one likes to open and close the boxes and smiles at who is inside. The 3-year-old gets the challenge of trying to match each set as a game. I made another set with different textures from my craft scraps and another set with simple pictures.
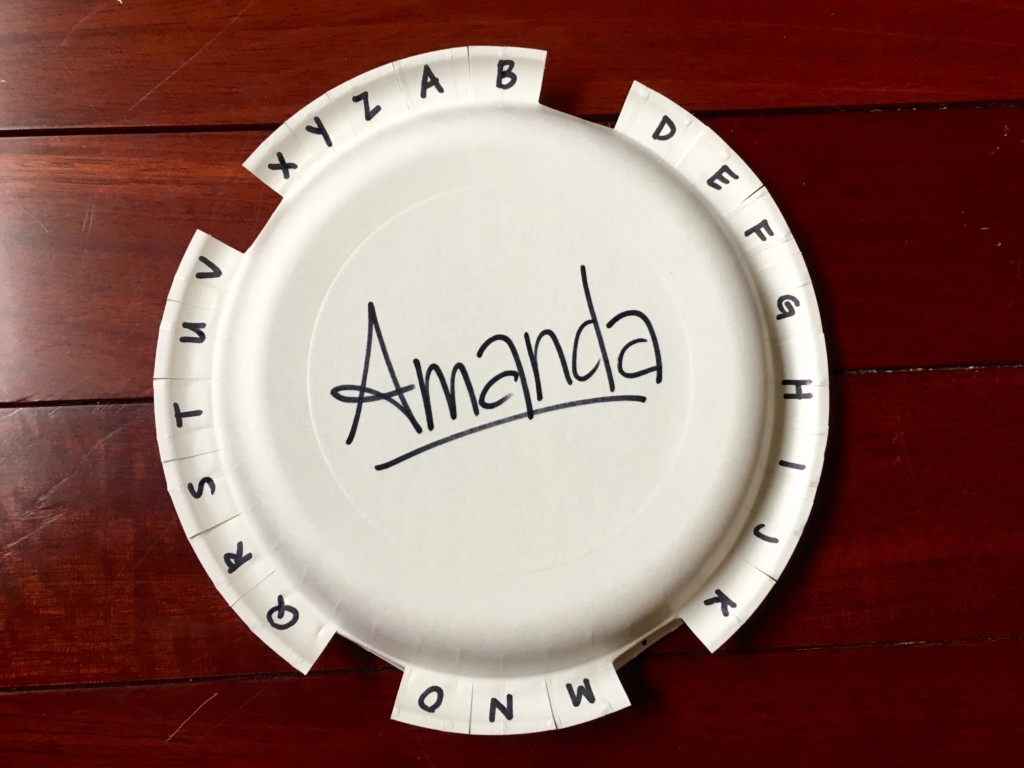
Paper plates. Another travel game we all know is the “spot the letter” game as you pass different signs. A tactile version of this game is to take a paper plate and write the alphabet around the edge. Snip between each letter and you have a board game version that your child can hold onto. As you spot letters, fold down each letter.


